Why Floors Matter in Commercial Spaces
If your business space has a tired, scratched floor, what does that say to your clients?
Flooring is often one of the first things people notice when they walk into a commercial property. Whether it’s a retail shop, office, restaurant or public building, the condition of your floors says a lot about your professionalism, attention to detail, and how you care for your environment.
That’s where floor sanding for commercial properties comes into play.
Floor sanding is a powerful restorative process that helps protect your investment, maintain safety standards, and extend the lifespan of your floors.
In high-traffic areas where wear and tear are inevitable, commercial floor sanding could be one of the smartest long-term decisions you can make as part of your overall commercial property maintenance strategy.
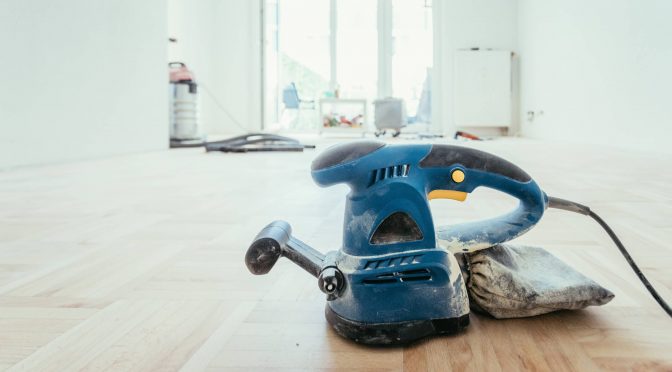
What is Commercial Floor Sanding?
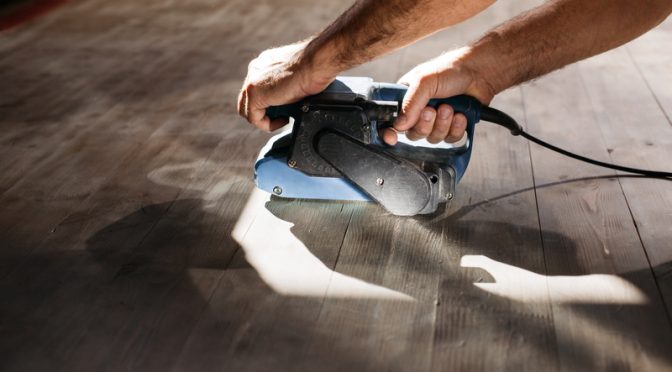
Commercial floor sanding is the process of removing the top, damaged layer of a wooden floor to expose the fresh timber beneath. Once sanded, the surface is then sealed and refinished to protect it from future damage and to enhance its appearance.
This differs from residential floor sanding, as commercial projects usually require:
- Faster turnaround times,
- Dust control solutions,
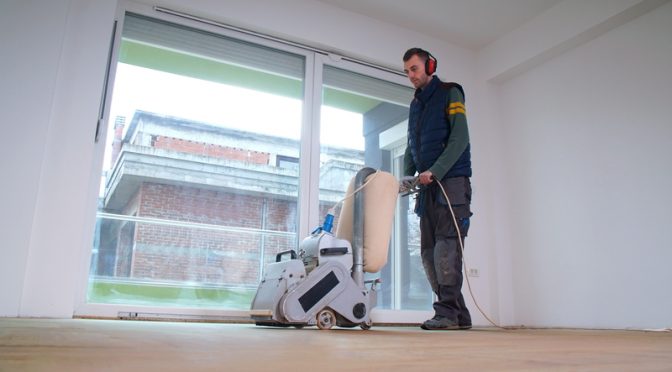
- Heavy-duty equipment,
- And professional finishes suitable for high-footfall environments.
One popular method is dust-free sanding, which uses advanced extraction systems to collect dust as it’s created, perfect for busy workspaces where air quality and minimal disruption are priorities.
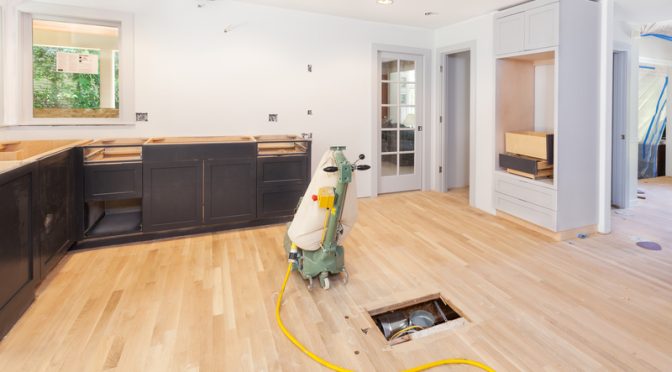
Commercial floor sanding is ideal for a wide range of business settings, including:
- Offices
- Retail stores
- Restaurants and cafés
- Hotels
- Schools and universities
- Public and government buildings
Key Benefits of Floor Sanding for Commercial Properties
Floor sanding is a smart business investment. Here are some of the top reasons why:
1. Restores Natural Appearance
Over time, wooden floors in commercial buildings can become dull, scratched, and stained. Whether it’s from office chairs, muddy boots, or rolling trolleys, that surface damage builds up fast.
Floor sanding works by removing the outermost layer of damaged wood and revealing the beautiful grain underneath. Once sealed, your floor regains a rich, polished appearance that reflects light and brings a sense of freshness and professionalism to the space.
2. Enhances Durability
By sanding worn or splintered surfaces, you are making the floor look better, and also making it stronger. After sanding, a new protective layer is applied (such as lacquer or oil), which helps the wood resist future wear.
This is important in high-traffic commercial areas, such as reception zones, corridors, and shop floors, where constant footfall can wear down finishes quickly.
3. Improves Safety
Damaged, uneven, or splintered flooring can be a potential hazard. Trip risks, loose boards, and slippery surfaces can all lead to accidents, which can put staff, customers, and your business at risk.
Commercial floor sanding helps create a level, even surface, which significantly reduces these risks.
It also supports your commitment to health and safety compliance, particularly in sectors like hospitality, retail, and healthcare, where floor conditions must meet high standards.
4. Protects Long-term Investment
When you think about the cost of completely replacing your commercial flooring, it’s clear that prevention is better than a cure. Regular commercial floor sanding can significantly reduce repair costs by stopping small issues, like minor surface damage or uneven finishes, from escalating into major structural problems.
Sanding your wooden floors as part of routine floor maintenance for businesses is far more economical over time than ripping them out and starting from scratch.
5. Healthier Work Environment
Scratched or rough flooring can trap dust, dirt, and allergens. In busy work environments, especially those open to the public, hygiene matters. Floor sanding creates a smooth, sealed surface that’s easier to clean and maintain, promoting a healthier work environment.
With modern dust-free sanding equipment, the process itself doesn’t contribute to poor air quality. And once refinished, the clean surface helps reduce mould, bacteria, and irritants that can build up in neglected cracks or damaged areas.
6. Increased Property Value
If you lease or own commercial property, maintaining its condition should be a top priority. Clients, tenants, and prospective buyers all notice the details, and a scuffed, damaged floor can undermine an otherwise high-quality space.
Freshly sanded and sealed flooring adds immediate visual and functional value.
It displays that the property is well-maintained and looked after, which can directly contribute to higher resale or rental appeal.
Regular sanding is one of the simplest ways to boost your space and preserve value long-term.
7. Enhances Business Professionalism
In client-facing industries, appearances matter. From a high-street fashion retailer to a corporate office in the city, polished wooden flooring sends a message of care, quality, and attention to detail.
A well-maintained floor helps create a more welcoming, professional environment for staff and visitors alike. If you’re hosting meetings, welcoming customers, or showcasing products, floor sanding ensures your space lives up to your brand’s reputation.
FAQs on Floor Sanding for Commercial Properties
1. How long does commercial floor sanding take?
The time it takes to complete a commercial floor sanding project largely depends on the size of the area and the condition of the flooring. As a general guide, a medium-sized office space might take 1–2 days for sanding and sealing.
Other factors include:
- The type of wood
- The number of coats of finish required
- Drying times between applications
- Furniture clearance or relocation
2. How often should I sand commercial wood floors?
Most commercial wood floors benefit from sanding every 3 to 5 years, depending on:
- The volume of foot traffic
- The type of finish applied
- The level of day-to-day wear
If your business sees heavy use, such as retail shops, restaurants, or schools, more frequent floor maintenance may be required. Keeping up with regular sanding helps to prolong floor lifespan and avoids deeper damage later on.
3. Is sanding better than replacing commercial flooring?
Absolutely, floor sanding is typically far more cost-effective than full floor replacement. It allows you to restore your existing hardwood flooring, rather than tearing it up and starting over.
That said, replacement may be necessary if the wood is warped, heavily water-damaged, or previously sanded beyond its limit. In most cases, though, floor refinishing can save money, reduce waste, and help protect your investment.
What do We Think?
In commercial spaces, your floors do more than support your business; they represent it.
From improving safety to enhancing durability and boosting workplace aesthetics, floor sanding for commercial properties is a smart, long-term investment. It helps preserve the natural beauty of wood, keeps your environment clean and professional, and ensures you’re meeting both visual and practical standards.
If you’re looking for a way to extend the life of your floors, reduce long-term costs, and create a better impression for your clients and employees, commercial floor sanding is the answer.
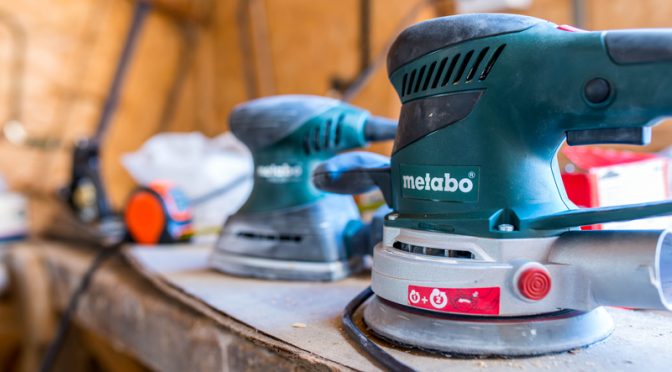
Transform Your Commercial Floors With Floor Sanders London?
If you’re looking to bring tired timber floors back to life, then it is time to explore high-quality floor sanding equipment at Floor Sander London. We offer complete sander packages designed to suit any commercial project, big or small.
From machines to finishes, you’ll find everything you need in our carefully curated range of floor sanding products.
Call us today on 0208 427 6604 for expert advice from our friendly, knowledgeable team. Or, simply fill out our quick enquiry form, and one of our team members will be in touch to help guide your next step.