There’s a certain allure to the natural beauty of wood that makes it a timeless choice for various woodworking projects. Whether you’re refinishing furniture, crafting a new piece, or working on a wooden floor, achieving a flawless and long-lasting finish relies heavily on ensuring you prepare wood before staining.
Assess the Wood Surface
Before diving into the preparation process, take a moment to inspect the wood surface thoroughly.
Identifying Existing Finishes
It’s essential to determine whether the wood has been previously stained, painted, or coated with a finish. Stains and paints can hinder the absorption of the new stain.
Addressing Damages and Imperfections
Carefully examine the wood for any cracks, scratches, or dents that could affect the final result. Unaddressed damages may become more pronounced after staining and make for a poor overall finish.
Preventing Unwanted Surprises
You can anticipate potential challenges and address them proactively by thoroughly assessing the wood surface. This not only saves you time and effort but also ensures a more satisfying end result.
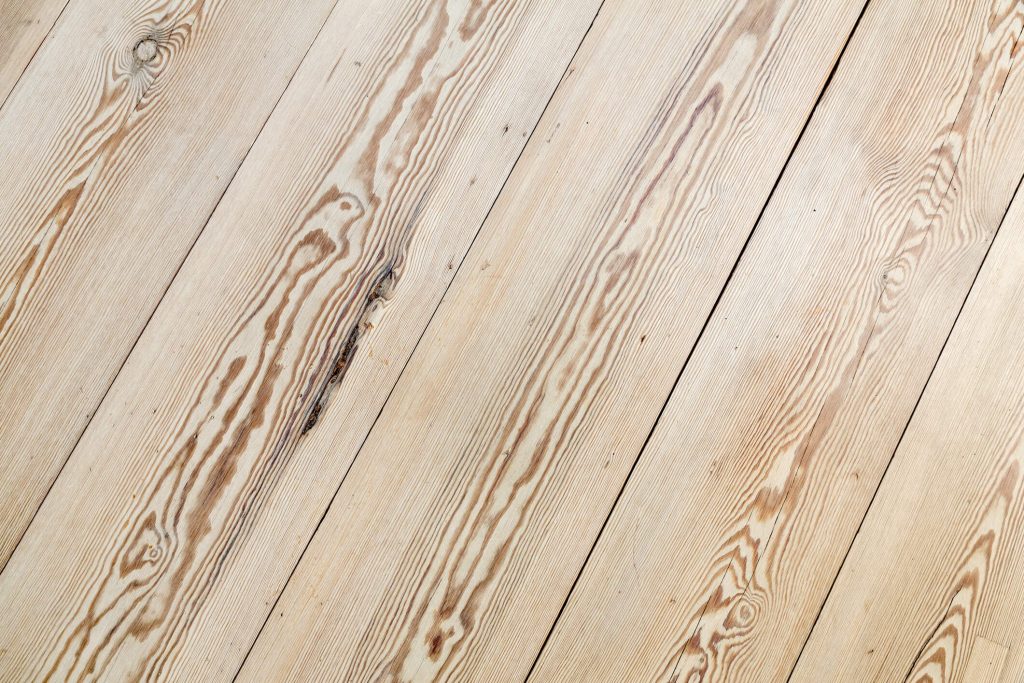
Sanding the Wood
Sanding is a crucial step in preparing wood for staining, as it helps achieve a smooth and uniform surface that allows the stain to penetrate evenly. However, it’s essential to understand the right sanding techniques and the appropriate grit range for different wood types to achieve the best results.
Removing Blemishes
Wood can be susceptible to various blemishes like dents, scratches, or stains that can mar its appearance. For minor dents filler and sanding can work. Superficial scratches can often be remedied by sanding the affected area with a fine-grit sandpaper.
Cleaning the Wood
Thoroughly cleaning the wood surface before staining is vital to achieve a smooth and flawless finish. Dust, debris, and contaminants can negatively impact stain adhesion and lead to uneven coloration and an unsatisfactory outcome. A clean wood surface not only enhances stain absorption but also allows the wood’s natural beauty to shine through, resulting in a stunning and professional finish.
“Popping” the Wood Grain
“Popping” the wood grain is a technique that involves wetting the wood surface with a damp cloth before applying stain. This method helps enhance the absorption of the stain, allowing it to penetrate the wood more effectively and achieve a more even coloration. Pores in the wood open up when damp, which in turn allows the stain to seep in and bring out the natural grain patterns.
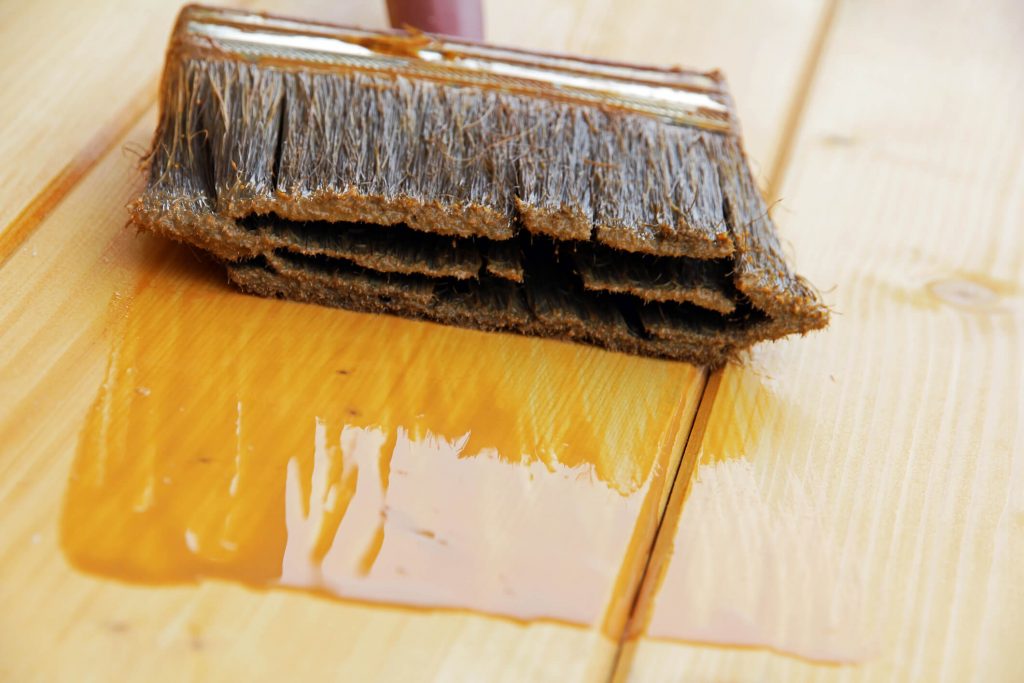
Applying the Stain
Applying the stain to the prepared wood surface is an important step in achieving the desired finish. Start by thoroughly mixing the stain according to the manufacturer’s instructions. Using a brush, cloth, or applicator pad, apply an even coat of stain in the direction of the wood grain. Take care to avoid drips or pooling, ensuring a smooth application.
Drying and Finishing
After applying the stain, it’s crucial to allow it to dry properly before proceeding with any protective finishes, such as varnish or polyurethane. Avoid rushing the process to ensure the stain sets evenly and enhances the wood’s natural beauty. When it’s time to apply the protective finish, use a clean brush or applicator pad and work in smooth, even strokes following the wood grain.
Cleanup and Maintenance
Proper cleanup after staining is essential to maintain a pristine workspace. Dispose of used materials responsibly and clean brushes, applicators, and any spills promptly. To preserve the stained wood’s appearance and longevity, practise regular cleaning with a soft cloth and mild, non-abrasive cleansers.
Contact Floor Sander Hire London Today
Now that we’ve covered how to prepare wood before staining, it’s time to get to work. Rent our top-notch dust free and regular sanders today for flawless projects. Need assistance or have queries? Contact us now and let’s transform your floor sanding project together!