
Do you want to give your floors a new lease of life? This blog will be explaining how to use a floor sander. Do you have bumps, cracks or discolouration in your wooden flooring? If the answer is yes then you will likely have to use some floor sanding equipment to bring your hardwood floor back to life.
When you have decided that it is time to sand your hardwood floors then you are going to have to learn how to use a floor sander efficiently. When you sand down your floor you are generally going to use 2 or maybe 3 machines. We want to go through these different machines. These will give you enough information, so you can go off and give yourself a pristine-looking wooden floor. These different floor sanders are:
One question that everyone asks themselves when they need to do some DIY is whether they should buy or hire the tools needed for the job. In this case (and not just because our business is to hire floor sanders & other tools out to professionals & the public!) it really is better to hire floor sanders when you need them.
These machines are big, technical and actually cost well into the thousands for something you can get for a fraction of the cost when hiring them out for a week or so when needed. You are able to hire your floor sander with all the accessories needed, like different grades of sandpaper for the different stages of the job etc.

The first thing you will need to do before you even think about starting to sand your floor is to get it prepped. This is just as important a the actual sanding itself as if you do not prep your floor correctly then you could end up causing more damage to your floor or even damaging the floor sander that you have hired out! This could be costly in both situations so its best practice to make sure everything is in order before you start.
The first thing you need to do is to remove any furniture from the room so you have a clear workspace. You then need to think about checking that there is no protruding & exposed nails or screws that were previously used to hold your flooring in place. These can cause massive damage to your sander or in the best case, they will tear your sanding belt which means you will have to replace these more often.
You then need to give your floor a hoover to pick up any dust etc on the floor. If you can see any damaged or loose floorboards, you can fix down loose boards but we would recommend replacing any damaged or rotting floorboards. (just make sure to use a wood that will give you the same finish as the rest of the floor when you are done)
Whenever you are sanding hardwood floors this will be your main floor sander, you will be using your belt sander on the majority of your floors. It resembles a lawn mower & in a way you use it in the same fashion. There are some major differences though, the biggest being that you can never leave your floor sander in one place while turned on for more than a second, you have to make sure you keep moving forwards or backward otherwise you will create ‘divots’ in the floor as the sandpaper cuts into the wood.
Have a look at our guide video on how to replace the sandpaper and how to use a drum/belt sander:
You will sand most of your hardwood floor with this sander but you will not be able to get that close to the sides of the corners, this leads us onto the next sanding tool you will need: The Edge Sander or Edger.
So, as the name implies this floor sander helps you sand all around the edges of your room that your drum/belt sander could not reach. The great thing about an edger sander is that if you have any areas where your drum/belt sander cant fit or reach this should be able to do the job for you. As long as you use the same grade of sandpaper you will get the same results as the larger drum sander. Edge sanders spin in a clockwise motion so you will have to sand from left to right.
Check out our video on how to correctly set up and use an edge sander:
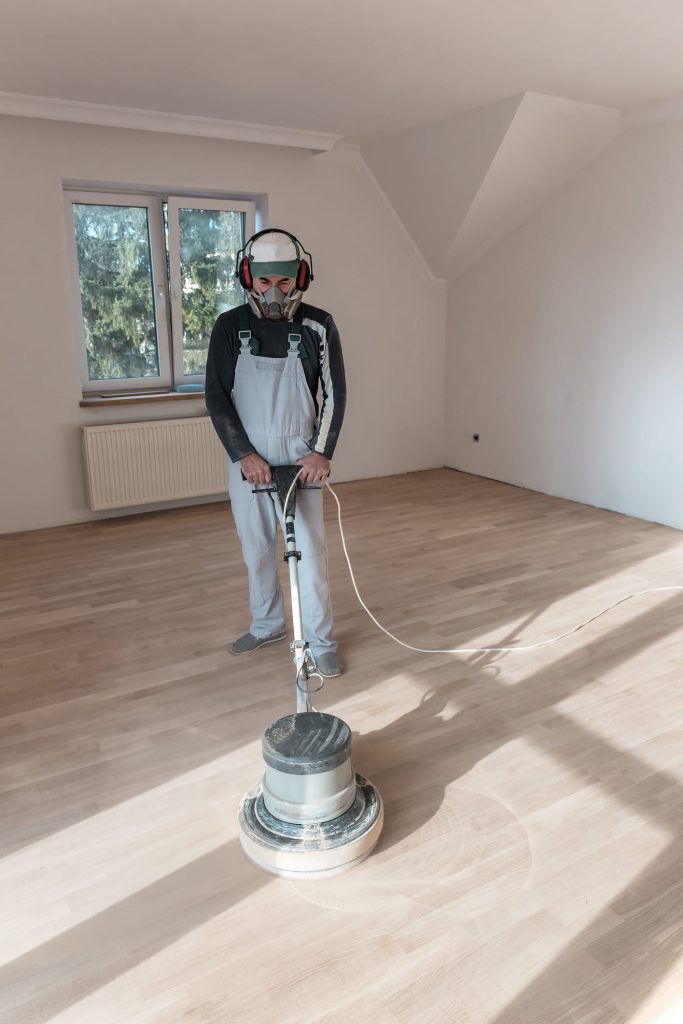
The Trio sander is the last sander you will need on the way to a beautiful new floor. With this sander, you will use a finer grit sandpaper to give your floor that smooth finish you want. The trio sander has 3 discs on the bottom that all move independently to make sure your finish is as smooth as possible.
Once you have finished using this sander you will be ready to treat your floor with the stain/paint of your choice and you will have a fresh new-looking floor again.
To enable you to set this sander up correctly and know how to properly use the trio sander please watch our video:
If you have any further questions or just want to get in contact to get your project started now then contact us today and we will get back to you asap. Here at Floor Sander Hire London, we have sanders to meet your needs and surpass your expectations! Our competitive rental process will be sure to surprise you.

Jamie GloverWhat a fantastic company. Clear, straightforward, honest interactions at every step of the way. Very reasonably priced and very helpful staff. The machinery is great (professional stuff, not the lesser, DIY equipment offered elsewhere) and I was really pleased with the outcome. Highly recommended.
Sukh SinghHonestly, one of the best tool rental experiences I've ever had! The staff was incredibly helpful and provided impressive advice not only on the floor sanding process but also on the application and product selection. Their expertise really made a difference in my project. Highly recommend!
Joe OconnorGreat prices, great service, great kit. Rented a belt and corner sander over the weekend and the team was very helpful and accommodating. Would 100% recommend.
Paul WoodsHired floor sander for my summer house, great Family run business very good price for the kit. Got told by a man in the business do not use HSS Sanders as they are not easy to use, these professional Sanders are more forgiving (which they were), he didn't use this company, as he lives down south but I thought I would give them a go, glad I did. Thanks Tom 👍
Copyright © 2026. Floor Sander Hire All Rights Reserved. Website & SEO by Loop Digital.


