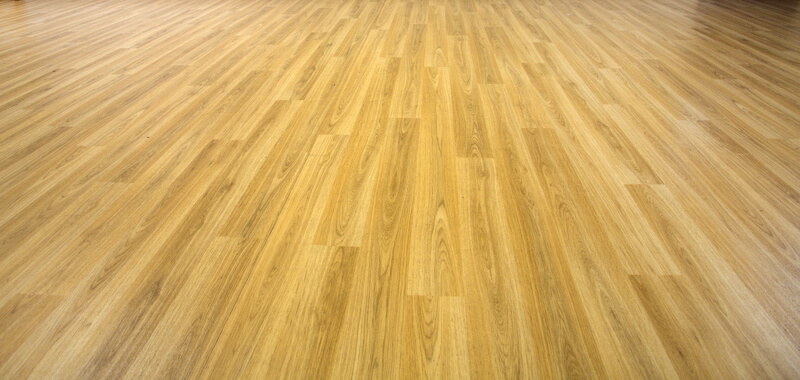
Oak floors add timeless beauty and warmth to any space. But over time, even the most durable oak can show signs of wear and tear. Sanding and refinishing is a fantastic way to breathe new life into your oak floors, restoring their natural lustre and enhancing your home’s value.
Whether you’re a seasoned DIYer or tackling this project for the first time, Floor Sander Hire is here to equip you with the knowledge and tools you need for a successful oak floor refurbishment. Here are some professional floor sander rental tips to guide you:
Tips for Floor Sander Preparation
Before you begin the floor sanding process, it’s important to put in the proper preparation work:
- Empty the room completely: Remove all furniture, rugs, and belongings to ensure unobstructed sanding and a clean finish.
- Address uneven surfaces: Repair any loose boards, nail pops, or dips in the floor before sanding.
- Protect surrounding areas: Seal doorways, air vents, and baseboards to prevent dust infiltration.
- Gather your tools: Rent the appropriate sander from Floor Sanders based on your floor size and condition. Don’t forget essential items like dust masks, safety glasses, and extension cords.
Floor Sanding Tips
To ensure the best possible finish to your floor, ensure you understand the floor sanding process correctly.
- Start with coarse grit: Begin with a coarse grit sandpaper (e.g., 24 grit) to remove old finish and deep scratches. Gradually progress to finer grits (e.g., 40, 60 grit) for a smoother surface.
- Follow the grain: Always sand in the direction of the wood grain to avoid swirl marks and unevenness.
- Edge work matters: Use an edger sander or hand sanding for corners and tight spaces. Be gentle to avoid damaging the edges.
- Dust control is crucial: Use a dust containment system attached to your sander to minimise dust and ensure a cleaner work environment.
Finishing Touches for the Best Floor Sanding Results
Finishing off your sanding job correctly is the key to maintaining a great finish:
- Clean thoroughly: Vacuum and wipe down the floor with a damp cloth to remove sanding residue.
- Apply the perfect stain (optional): If desired, use a wood stain to achieve your preferred colour. Choose a stain specifically formulated for oak floors and follow the manufacturer’s instructions carefully.
- Seal and protect: Apply a high-quality sealant or finish designed for oak floors. Opt for a finish that suits your desired sheen level (matte, satin, or gloss) and traffic volume.
Bonus Tips
- Work in sections: Sand and finish the floor in manageable sections to ensure even application and avoid overlapping.
- Good ventilation is essential: Open windows and doors for proper ventilation during sanding and finishing.
- Lighting is your friend: Use bright lighting to highlight uneven areas and ensure consistent sanding.
- Don’t underestimate the power of practice: If you’re new to sanding, practice on a scrap piece of oak flooring before tackling the entire project.
Contact Floor Sander Hire Today
At Floor Sanders, we have the expertise and equipment to guide you through your oak floor restoration project. Contact us today for professional advice, sander rental, and high-quality floor finishing products. With the right tools, knowledge, and these professional tips, you can achieve stunning results and enjoy your beautiful oak floors for years to come!