So, you’ve got a beautiful piece of furniture but you think it needs a bit of TLC. Well, if you are wanting to paint or stain your wood, then you’ll need a smooth finish. This is where sanding comes in. Sanding will remove all the roughness of the wood, creating a nice, smooth piece of furniture ready to decorate however you please. This guide will be the perfect tool for you while you learn how to sand furniture.
Pick a Sander
When it comes to your project, using the right type of sander will have a big impact. There are four main types of sanders used:
- Belt Sander – Ideal for removing large amounts of rough material swiftly. Often used before an orbital or finishing sander but not necessary.
- Random Orbital Sander – The most versatile sander, a perfect medium between a belt sander and a finishing sander. Leaves virtually no scratches or marks.
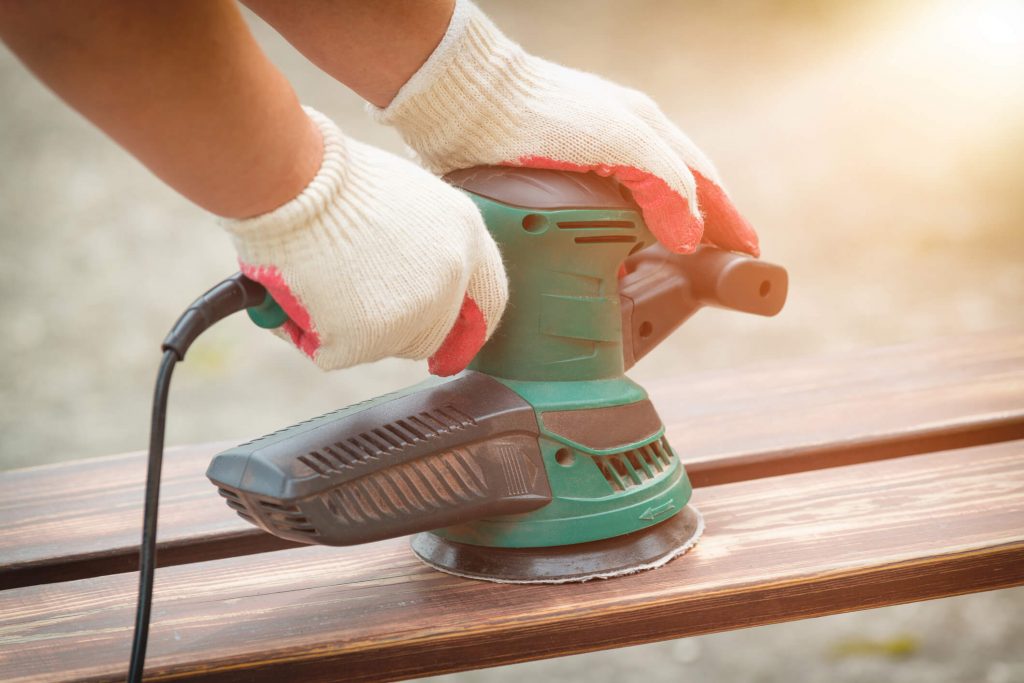
Deciding between these options can feel overwhelming, especially for someone who is new to woodworking and learning how to sand furniture. For you, the best option to choose would be an orbital sander. This is due to its ability to work large areas and reach a smooth finish while also being a safer and easier tool to get the hang of.

Pick Your Sandpaper
Depending on what you are sanding, the type of sandpaper you use holds a crucial role. There are four types of sandpaper, each with different grits to achieve a different finish:
- Extra Fine – the highest grit sandpaper of 320-400. Most suitable for between layers of paint or vanish to get a super smooth finish.
- Fine – 180 – 220 grit sandpaper. Mostly used to roughen up the wood slightly before applying coats of paint. Also good for smoothing out possible scratches from coarser grits.
- Medium – 80 – 120 grit sandpaper. This is typically used to sand down old stains or paint and remove planning marks made.
- Coarse – 40 – 60 grit sandpaper. This is best for shaping wood, rounding corners and removing old, thick layers of paint. Ideally used on floors.
Begin Sanding
Once you’ve picked the right sander and sandpaper for your project, it’s time to get work. Turn the sander on and begin. Don’t rush this step though, it’s best to go nice and slowly when sanding or you may create a swirling effect. Don’t press down on the sander or push it hard. Make sure to move the sander with the wood grain to create a more natural look and prevent scratches in the wood.
If you do develop a swirling effect, don’t panic. This is simple to fix – all you need to do is change to a finer grit and go over the problem areas until its nice and smooth.
When it comes to sanding your furniture and you don’t have the correct sander, then Floor Sanders Hire is the team for you. Contact Floor Sanders Hire today, and they can supply you with top of the range sanding tools and equipment and provide professional and friendly advice to any sanding novice.