Top tips to help you get sanding
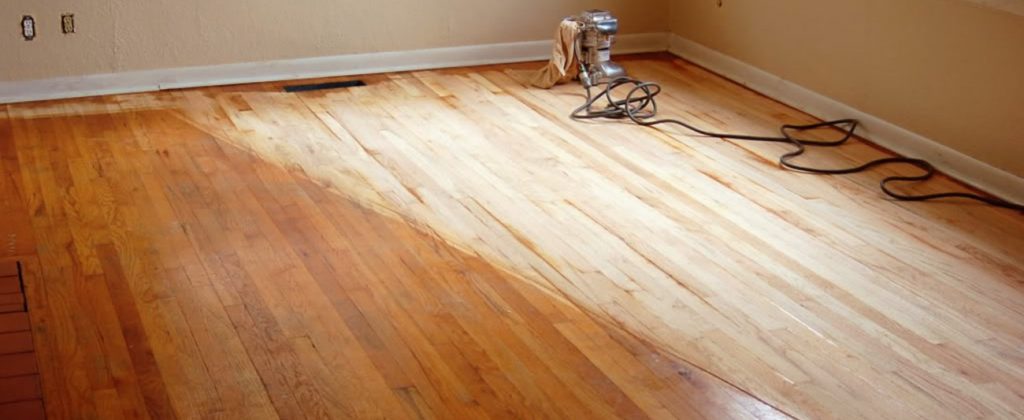
In the interest of saving money, you may opt to sand your own pine floors. All this requires is the hire of the high-quality tools that we supply here a The Floor Sander Hire Co. Some of the companies you hire in to do the job may only be interested in the pay. However, sanding pine floors does not always have to be an expert-only job. With time you’ll benefit from the importance of doing this job for yourself. You save some money and the quality of work you do is better. Though most floors are made of hardwood, pine is a soft wood. The procedure used for sanding softwood floors is not the same as the one for hardwood floors. A gentle and soft touch is a very important consideration when doing this job. An electric sanding machine is the best choice if you want to complete the work quickly, though doing it by hand is still an alternative.

What you will need
In order to be able to do your floor sanding work satisfactorily, you will need the following equipment:
- A belt sander
- An 80, 100, 150, and 220-grit sandpapers
- A Hand disc sander
- A good quality vacuum
Procedure
- Before any sanding work begins, the floor must be checked to ensure there are no nails or screws that are protruding above its surface. In the case that there are some, they must be either filed down or taken out before you start. To fill in any gaps and repair loose boards, you can use a professional or local filler.
- In order to refinish your pine floor, you need to attach the 80-grit sandpaper to your belt sander. However, for a new floor, the 100-grit sandpaper is more suitable to obtain better results.
- Begin your sanding work at one end of the floor and continuously move back towards the opposite side of the room. Ensure that you leave roughly 6 feet between you and the wall.
- To finish the area, you should turn around your belt sander. Go on with the rest of the floor until you are done. All the areas along the walls and corners should be sanded by use of the hand disc sander.
- The next step is to change grits of both the belt and hand disc sanders from 80 to 150. With the new grits, follow steps 1-4 above, all over again.
- The sixth step here is to shift to the 220-grit sandpaper for both the two sanders. Go on and on sanding with the new grit until your pine floor achieves a smooth appearance.
- When doing the final touches, the cracks may have some dust embedded in them. These can be removed by the use of the vacuum. For the floor staining process to begin, ensure you have eliminated all of the dust.
- It is advisable not to do your sanding in short segments because it may leave streaks of sanding when a wood stain is being applied. You need to keep checking on the sandpaper if you are doing a floor that is refinished. In case of varnish buildup on the sandpaper, ensure you change it as soon as possible. Sanding should be done in the direction of the board and not across it. This ensures that no undesirable scratches are left on the pine floor which may make the boards less appealing.
There you have it! Though it may be time-consuming, sanding pine floors is an activity that will save you a lot of money. Furthermore, you do it out of the love for your own floor. Therefore, if you’ve been debating about it, follow this procedure and you’ll not go wrong. You will definitely begin enjoying it.