Looking after your furniture, flooring, or anything else in your house made of wood is important if you want it to last. This especially goes for anything wooden you own outside. Wooden garden furniture, decking, or a wooden gazebo will especially need staining in order to protect it from the rain.
But before staining anything wooden, you’ll need to prepare it. Preparation is key to ensuring that, when you apply the stain, it seeps into the wood properly and evenly, providing the best protection. Luckily, we’ve done the hard work for you and compiled a guide to preparing wood for staining. So read on to become an expert!
Should You Use Power Tools?
This is a bit of a controversial question in some ways, and you might get different answers from different carpenters. The long and the short of it, however, is that using power tools means you’ll get the job done a lot quicker. This especially goes for if you are sanding large surfaces like decking or a whole gazebo.
With big projects like this, it’s a good idea to hire some heavy machinery, but, if you’re just sanding down some furniture, you can purchase or hire a palm sander. This will certainly get the job done quickly and easily.
What we do recommend, however, is that you hand sand at the end to provide a fine and smooth finish to the wood. Wrap some fine grain sandpaper around a block and sand down the wood one last time to get a great finish.

A word on sanding
It’s a good idea to go into some more detail about how to best sand down wood if you’re preparing it for staining. First off, it’s time to bust some jargon and explain what different grits mean. A sandpaper with a coarse grit (those under 100) will be quite rough. These are generally used at the start of the sanding process to remove a large amount of wood.
However, sand paper under 100 grits doesn’t provide a smooth finish, so afterwards you should use a finer grit paper to smooth out the wood. Then, finally, use a fine grit sand paper (say over 200) in order to finish the job.
You should also make sure that you sand with the grain, never at an angle to it. If you don’t you’ll end up scratching the wood and this can end up looking terrible!
The final steps
Once you’ve sanded down the wood, you’ll need to make sure you remove all of the sand before you get on with the staining. You can use a damp rag to do this, but the best option is to purchase some sticky cheesecloth which is designed for cleaning dust from sanded wood.
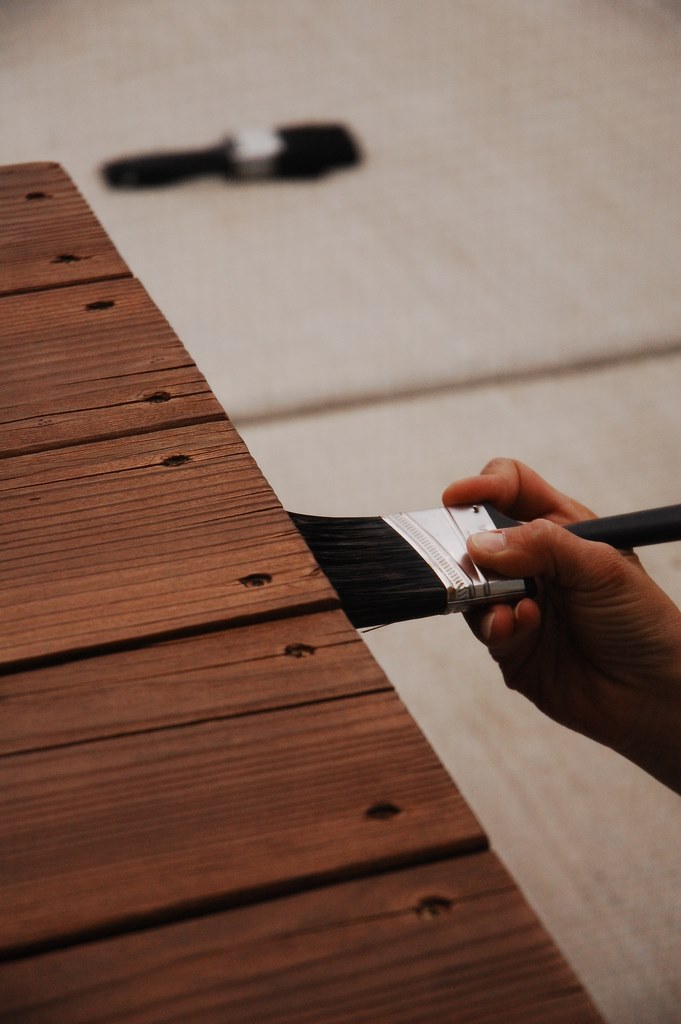
Once you have cleared away all the dust, it’s time to start staining the wood! If you follow this guide, you’ll be able to apply the stain safe in the knowledge that the finished product will look great and, most importantly, protect your wood from the elements.
We hope this blog gave you some food for thought, let us know on our Twitter or Facebook – we’d love to hear your thoughts!