Historic properties tell stories through every detail, and nothing reflects that heritage quite like original timber flooring. From Georgian townhouses to Victorian terraces, restoring wooden floors is not just about aesthetics; it is about preserving craftsmanship, authenticity, and value.
If you are considering wood floor restoration in a period property, this guide will walk you through the process, challenges, and best practices to achieve a flawless, long-lasting finish.
Why Restoring Wooden Floors Matters in Historic Homes
Original timber floors are often one of the most valuable features in older properties. Unlike modern flooring, these boards were typically made from slow-grown hardwood, making them denser and more durable.
Restoring wooden floorboards instead of replacing them helps to:
- Preserve architectural integrity
- Maintain property value
- Reduce waste and support sustainability
- Retain unique patterns and character
However, floorboard restoration in historic homes requires a careful and informed approach to avoid damaging fragile materials.
Assessing Your Floor Before Restoration
Before starting any floor restoration project, a detailed assessment is essential.
What to Look For
- Wood type: Pine is common in Victorian homes, while oak may appear in older properties
- Structural integrity: Check for rot, warping, or insect damage
- Previous treatments: Old varnish, wax, or paint layers can impact restoration methods
- Board condition: Loose or missing boards need repair before sanding
If your floors are heavily worn or uneven, professional-grade equipment such as that found in floor sanders can make a significant difference in achieving a consistent finish.
The Process of Restoring Wood Floors
1. Preparation and Repairs
Start by removing furniture, carpets, and any nails or staples. Replace damaged boards and secure loose ones.
For those undertaking a DIY renovation, investing in high-quality sanding equipment such as belt sanders ensures efficient removal of old finishes while preserving the wood beneath.
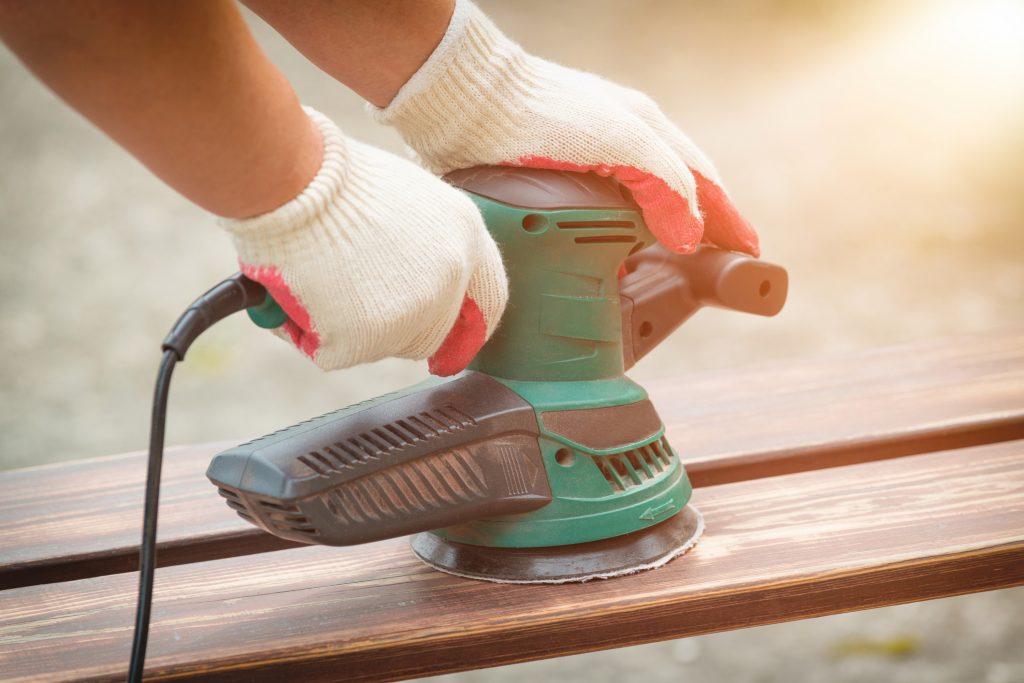
2. Sanding the Floor
Sanding is the most critical stage in restoring wood floors. It removes old coatings, levels the surface, and prepares the timber for finishing.
Key Tips for Effective Sanding
- Begin with a coarse grit and gradually move to finer grits
- Always sand in the direction of the grain
- Use edging sanders for corners and tight spaces
- Avoid over-sanding delicate historic boards
If you are unsure, refer to expert floor sanding tips to avoid common mistakes that can damage period flooring.
For convenience and cost efficiency, many professionals and DIY enthusiasts opt for sanding bundles that include everything needed for a complete project.
3. Filling Gaps and Imperfections
Older wooden floors often have gaps due to natural movement over time. While some gaps add character, larger gaps may need filling.
Use compatible wood fillers or slivers to maintain the authentic look. Avoid modern synthetic fillers that may clash with traditional materials.
You can find specialised wood floor accessories designed specifically for restoration projects, ensuring a more seamless finish.
4. Finishing the Floor
Once sanding is complete, the final step is to protect and enhance the wood.
Popular Finishes for Historic Floors
- Oil finishes: Enhance natural grain and offer a traditional look
- Hardwax oils: Provide durability with a low sheen
- Lacquers: Offer strong protection but may appear more modern
When choosing a finish, consider the age and style of the property to ensure consistency with its original character.
Common Challenges in Wooden Floorboard Restoration
Restoring wooden floors in historic properties is rarely straightforward.
Uneven Surfaces
Older homes often have uneven subfloors. Careful sanding and levelling are required to avoid removing too much material.
Hidden Damage
Issues such as rot or woodworm may only become visible once sanding begins. Address these problems promptly to prevent further deterioration.
Delicate Materials
Historic floorboards can be thinner than modern ones. Using professional floor sanders with adjustable settings helps minimise the risk of over-sanding.
Should You DIY or Hire a Professional?
This is one of the most frequently asked questions when it comes to restoring wooden floorboards.
| Aspect | DIY Restoration | Professional Restoration |
| Suitability & Recommendation | Suitable if the floor is in relatively good condition. | Highly recommended if the property is listed or historically significant. |
| Condition & Damage | Suitable if you are confident with sanding techniques. | Essential if floors are severely damaged. |
| Equipment & Precision | Suitable if you have access to proper equipment. | Professionals bring experience, precision, and access to advanced wooden floor tools. |
| Final Result | Relies on personal skill level. | Ensures a high-end, flawless finish without compromising the integrity of the wood. |
How Long Does Floor Restoration Take?
The timeline depends on the size of the area and the condition of the floor.
Small room: 1 to 2 days
Entire property: 3 to 7 days
Additional time for repairs or drying finishes
Proper planning is essential, especially in historic homes where unexpected issues can arise.
How Much Does It Cost to Renovate Wooden Floors?
Costs of wooden restoration can vary based on the following:
- Floor condition
- Type of finish
- Labour or equipment hire
- Additional repairs
While DIY projects can reduce costs, investing in high-quality sanding equipment and consumables ensures better results and fewer long-term issues.
Best Practices for Maintaining Restored Wooden Floors
Once your wooden floorboard restoration is complete, proper floor maintenance is key to preserving its beauty.
- Use rugs in high-traffic areas
- Avoid excessive moisture
- Clean with wood-friendly products
- Reapply protective finishes as needed
Regular care will extend the life of your restored floors and maintain their historic charm.
Final Thoughts
Restoring wooden floors in historic properties is both an art and a science. It requires patience, the right tools, and a deep respect for the materials involved. Whether you are tackling a small renovation or a full-scale restoration, taking the time to do it properly will reward you with a floor that is both beautiful and historically authentic.
Bring Your Floors Back to Life with Floor Sanders London
Ready to renovate wooden floor surfaces with confidence? At Floor Sanders London, we provide everything you need for expert wood floor restoration, from high-performance floor sanders and precision belt sanders to complete sanding bundles and specialist wood floor accessories.
- Whether you are restoring wooden floorboards in a period property
- Tackling a full floorboard restoration project.
- Unsure about tool purchase? Rent the best-in-class sanding tools for your project!
- Check out our wide range of wooden flooring tools and wooden floor accessories.
- Unsure about which tools to go for? Choose from our sanding packages for curated assistance.
Our equipment and guidance ensure professional results every time. Explore our floor sanding tips, and transform tired floors into stunning features. Get started today and achieve a flawless finish with ease.
Frequently Asked Questions
1. Can all wooden floors be restored?
A. Most wooden floors can be restored, provided they have not been excessively sanded or structurally compromised.
2. Is it worth restoring old floorboards?
A. Yes, especially in historic properties where original features add significant value and character.
3. How many times can a wooden floor be sanded?
A. Typically, solid wood floors can be sanded several times, but historic boards may have less thickness, so caution is required.
4. What is the best finish for period properties?
A. Oil or hardwax finishes are often preferred as they enhance the natural look while maintaining authenticity.
5. Do I need professional equipment for floor restoration?
A. Yes, using high-quality tools such as belt sanders and other specialist equipment ensures a smoother, more consistent result.