
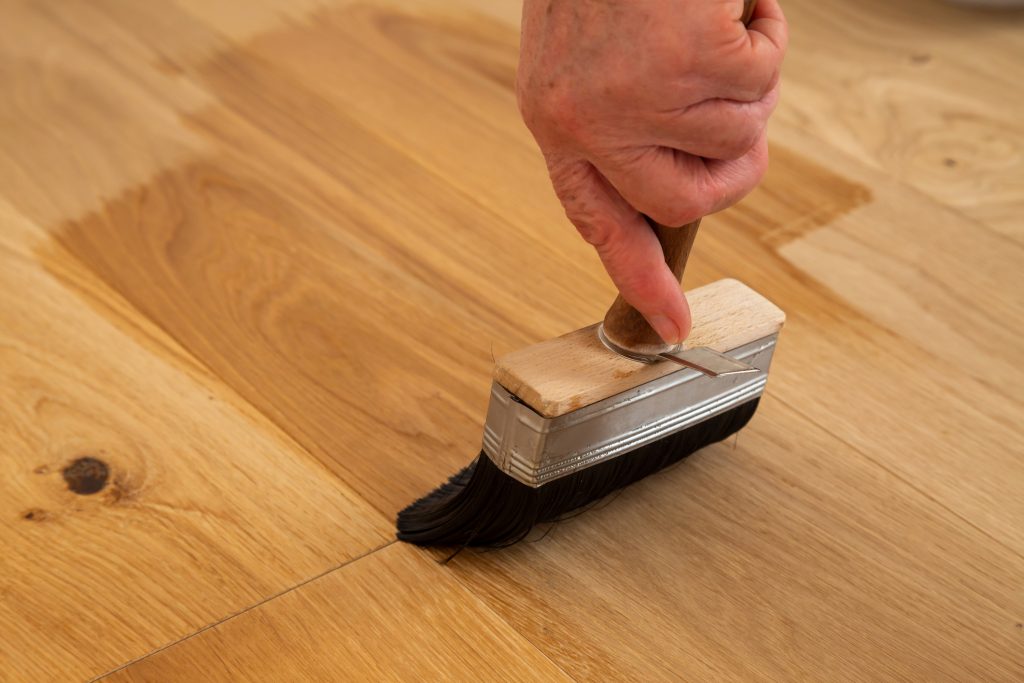
Sanding your wooden floors is one of the most transformative steps in restoring their natural beauty. However, the real difference between an average finish and a flawless one lies in what you do next. Proper after-sanding care is essential for durability, appearance, and long-term protection.
In this guide, we will walk you through exactly how to clean wood after sanding, what to do after sanding wood, and the best professional tips to maintain your floors. Whether you are a DIY enthusiast using floor sander rental or a tradesperson working with belt sanders and drum sanders, this blog is designed to deliver expert-level insight.
Why Is After-Sanding Care Important?
Sanding removes the top layer of your wooden floor, exposing fresh timber beneath. At this stage, the surface is highly vulnerable to dust, moisture, and damage.
If you skip proper cleaning and maintenance:
- Dust can ruin your finish
- Sealants may not adhere correctly
- Scratches and imperfections become more visible
That is why understanding what to do after sanding is critical before applying any finish.
Step 1: How To Clean Wood After Sanding
The first and most important step is thorough cleaning. Even the finest dust particles can affect the final result.
1. Vacuum the Surface Properly
Use a high-quality vacuum with a brush attachment to remove all sanding dust. Focus on:
- Floorboards
- Edges and corners
- Gaps between planks
Professional-grade vacuums are often included with wooden floor tools or are available alongside floor sander rental at Floor Sanders London.
2. Wipe with a Microfibre Cloth
After vacuuming, wipe the surface using a slightly damp microfibre cloth. This helps pick up fine dust that vacuuming may miss.
Avoid soaking the cloth. Excess moisture can damage raw wood.
3. Use a Tack Cloth for Precision
A tack cloth is one of the most underrated wood floor accessories. It captures microscopic dust particles and ensures a clean, smooth surface before finishing.
Step 2: Inspect and Prepare the Surface
Before applying any finish, take time to inspect your work.
Look for:
- Uneven sanding marks
- Scratches or swirl patterns
- Missed edges or corners
If you used belt sanders and drum sanders, ensure transitions between sanding passes are smooth. These machines are powerful but require careful handling to avoid uneven finishes.
Pro Tip: Lightly sand problem areas using fine-grit sandpaper, then clean again thoroughly.
Step 3: Choose the Right Finish
Once the surface is clean and smooth, the next step in what to do after sanding wood is applying a protective finish.
Common Options:
- Varnish: Durable and ideal for high-traffic areas
- Oil: Enhances natural grain and provides a matte look
- Lacquer: Fast-drying and highly protective
Your choice will depend on the room usage, aesthetic preference, and maintenance expectations.
Step 4: Apply the Finish Correctly
Application technique is just as important as the product itself.
Best Practices:
- Apply thin, even coats
- Follow the grain of the wood
- Allow sufficient drying time between coats
Using high-quality wood floor accessories such as applicator pads and rollers will improve the finish significantly.
Step 5: Allow Proper Drying and Curing Time
One of the most common mistakes is walking on the floor too soon.
General Guidelines:
- Light foot traffic after 24 hours
- Furniture placement after 48 to 72 hours
- Full curing may take up to 7 days
During this time:
- Avoid dragging furniture
- Keep pets off the surface
- Maintain good ventilation
Step 6: Ongoing Maintenance Tips
After your floor is finished, maintenance is key to preserving its appearance.
Daily Care:
- Sweep or vacuum regularly
- Use a soft brush attachment
- Avoid abrasive cleaners
Weekly Care:
- Damp mop using a wood-safe cleaner
- Check for spills and clean immediately
Long-Term Protection:
- Use rugs in high-traffic areas
- Fit felt pads under furniture
- Avoid high heels and heavy impacts.
Floor Sanding Tips for a Perfect Finish
Whether you are a DIY user or hiring professionals, these floor sanding tips will elevate your results:
- Always sand in the direction of the grain
- Start with coarse grit and progress to fine grit
- Keep sanding machines moving to avoid marks
- Use edge sanders for corners and skirting areas
If you are using a floor sander rental, make sure you understand how to operate belt sanders and drum sanders safely. These machines can remove material quickly and require control.
Essential Wooden Floor Tools and Accessories
Achieving professional results requires the right equipment.
- Drum sander for large areas
- Edge sander for corners
- Hand sanders for detail work
Key Accessories:
- Sanding belts and discs
- Dust bags and extraction units
- Tack cloths and applicators
Investing in the right wood floor accessories not only improves finish quality but also saves time.
Common Mistakes To Avoid After Sanding
Understanding what to do after sanding also means knowing what not to do.
Avoid:
- Skipping the cleaning process
- Applying a finish on dusty surfaces
- Using too much water during cleaning
- Rushing drying times
- Ignoring minor imperfections
Even small mistakes at this stage can affect the outcome significantly.
Why Professional Equipment Makes a Difference
Using professional-grade tools can significantly impact the quality of your results.
With floor sander rental, you gain access to:
- High-performance sanding machines
- Efficient dust extraction systems
- Reliable and consistent finishes
Machines like belt sanders and drum sanders are designed for precision and speed, making them ideal for both DIY users and professionals.
Final Thoughts
Mastering how to clean wood after sanding and understanding what to do after sanding wood is essential for achieving a long-lasting, high-quality finish.
From proper dust removal to choosing the right finish and maintaining your floors, every step plays a vital role. With the right approach, tools, and attention to detail, you can transform your wooden floors into a stunning feature that lasts for years.
Ready To Achieve A Flawless Floor Finish?
Transform your wooden floors with expert support from Floor Sanders London. Whether you need reliable:
Our team is here to help. We provide professional-grade equipment, expert advice, and flexible hire options to suit every project. We make floor sanding simple and effective. Call us today or explore our range online to get started on your perfect floor finish.
FAQs
1. What is the best way to clean wood after sanding?
A. The best method combines vacuuming, wiping with a damp microfibre cloth, and finishing with a tack cloth to remove fine dust.
2. Can I mop the floor after sanding?
A. Not immediately. Only use a slightly damp cloth before finishing. Proper mopping should be done after the finish has cured.
3. How long should I wait before applying varnish?
A. You can apply varnish once the surface is completely clean and dry, usually immediately after cleaning.
4. Do I need to seal wood after sanding?
A. Yes. Sealing protects the wood from moisture, wear, and stains and enhances its appearance.
5. What happens if I do not clean properly after sanding?
A. Dust particles can get trapped in the finish, resulting in a rough, uneven surface.
6. Can I use a normal vacuum cleaner?
A. Yes, but ensure it has a good filter and brush attachment. Professional vacuums are more effective for fine dust.
7. Is sanding enough to restore wooden floors?
A. Sanding is only part of the process. Proper cleaning, finishing, and maintenance are equally important.