25 May 2026
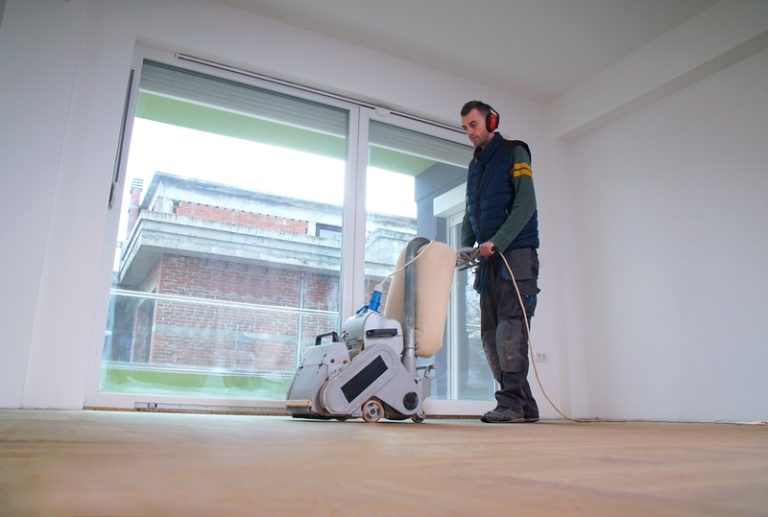
Sanding your wooden floors is one of the most transformative steps in restoring their natural beauty. However, the real difference…
21 May 2026
If you have just pulled back an old, dusty carpet and spotted a classic herringbone pattern underneath, you have hit…
4 April 2026
Historic properties tell stories through every detail, and nothing reflects that heritage quite like original timber flooring. From Georgian townhouses…
5 March 2026
As we move into 2026, floor sanding has evolved far beyond heavy, dusty machines and trial-and-error techniques. At Floor Sanders…
15 February 2026
If you’re looking at tired, scratched or dull timber flooring and wondering whether it’s worth restoring, one of the first…
20 December 2025
At Floor Sanders London, we know that no two wooden floors are the same. From timeless hardwood floors to character-rich…
10 November 2025
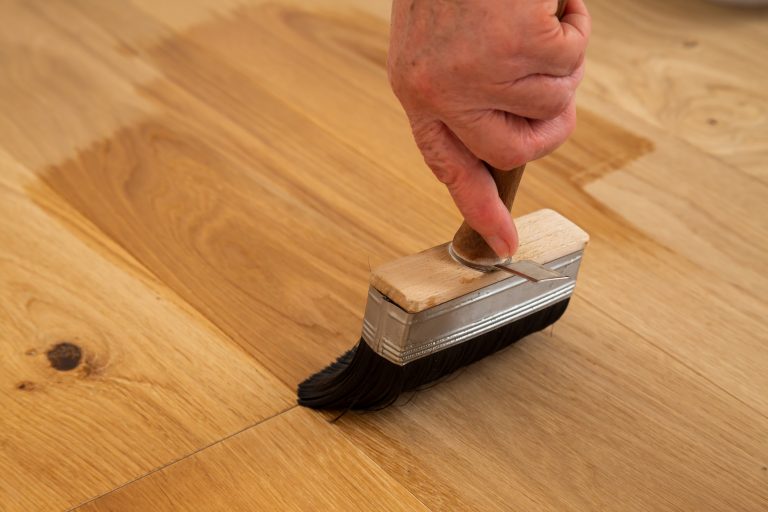
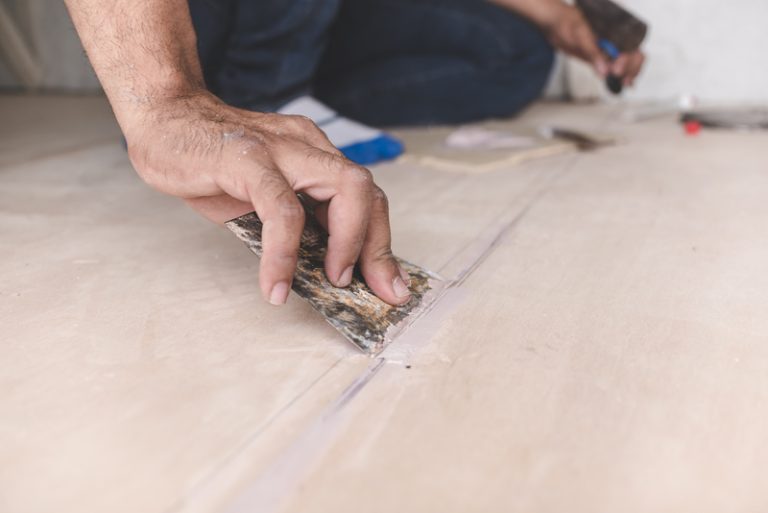
If you’re reading this, chances are you’re tired of gaps in your floorboards. Maybe they’ve sneaked up on you over…
7 October 2025
As the year draws to a close, it’s the perfect time to give your floors the attention they deserve. Whether…
3 October 2025
Living with furry companions brings immense joy, but it also presents unique challenges for maintaining beautiful wooden floors. From playful…
8 September 2025
Many UK homeowners are drawn to engineered wood flooring for its authentic real-wood appearance and impressive stability, but what happens…
20 July 2025
Summer’s here, and whilst we’re all looking forward to longer days and warmer weather, your floors might not be feeling…
1 July 2025
Why Floors Matter in Commercial Spaces If your business space has a tired, scratched floor, what does that say to…
Copyright © 2026. Floor Sander Hire All Rights Reserved. Website & SEO by Loop Digital.